-


Follow Us

x
Shutterstock
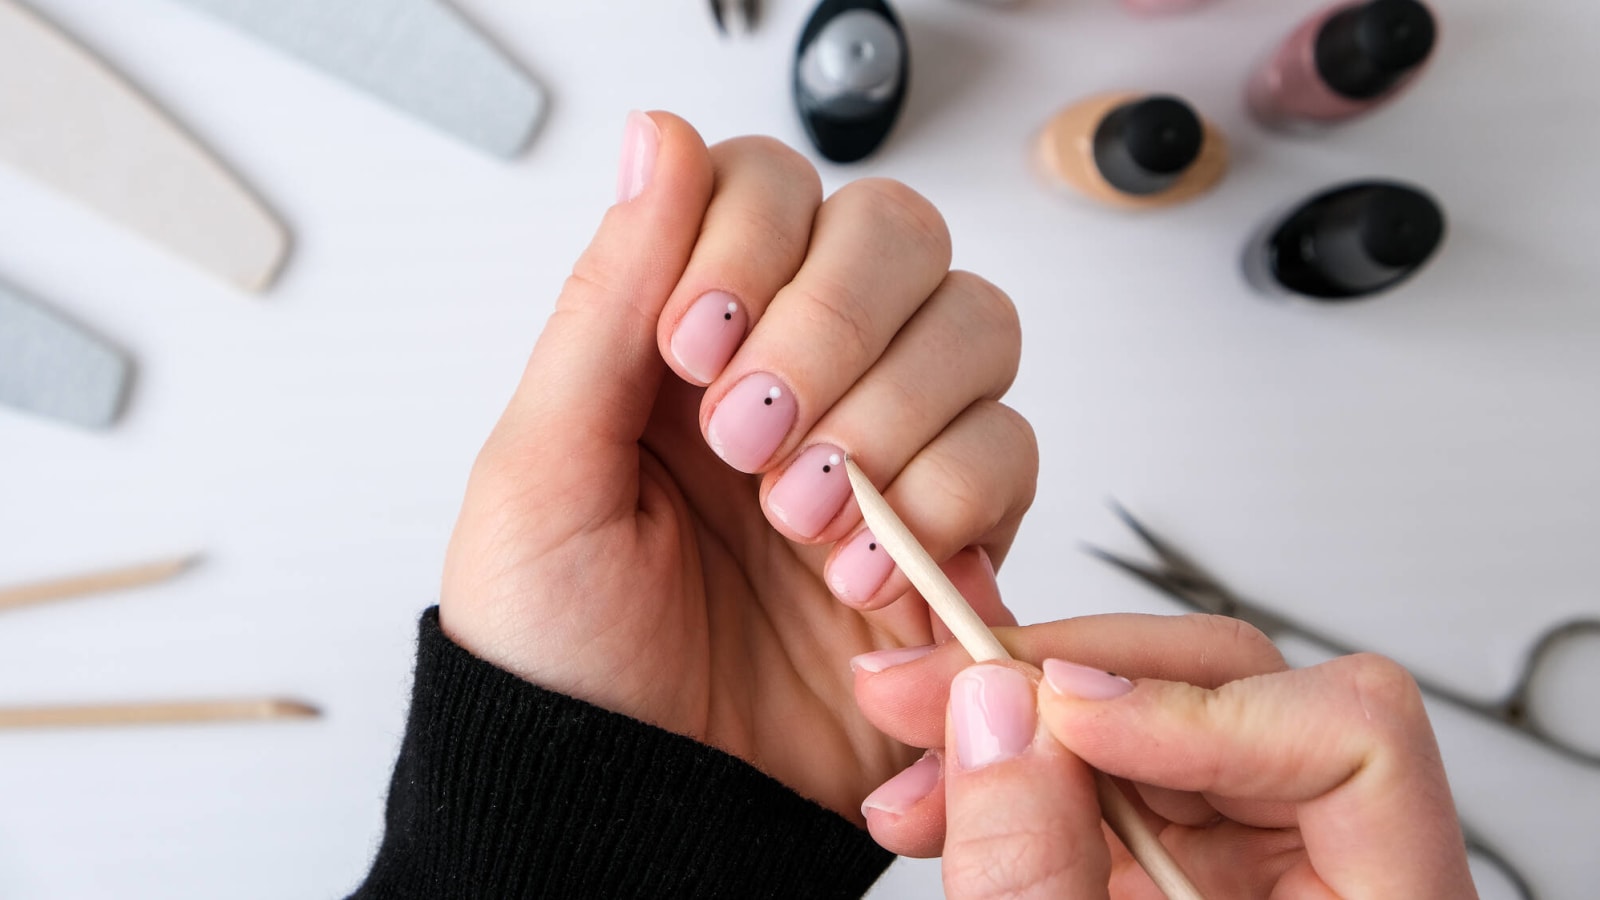
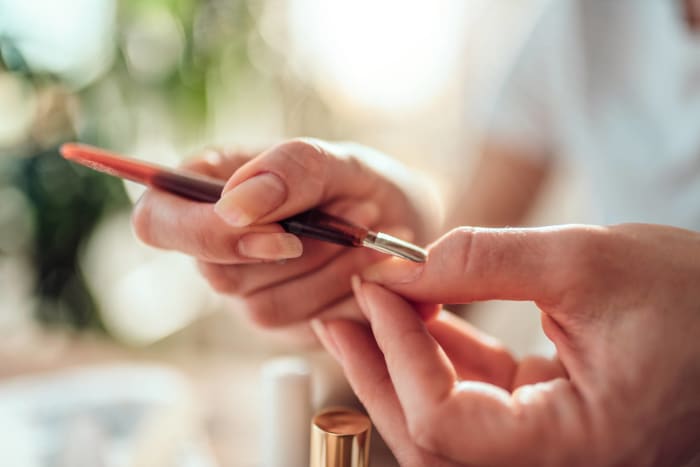
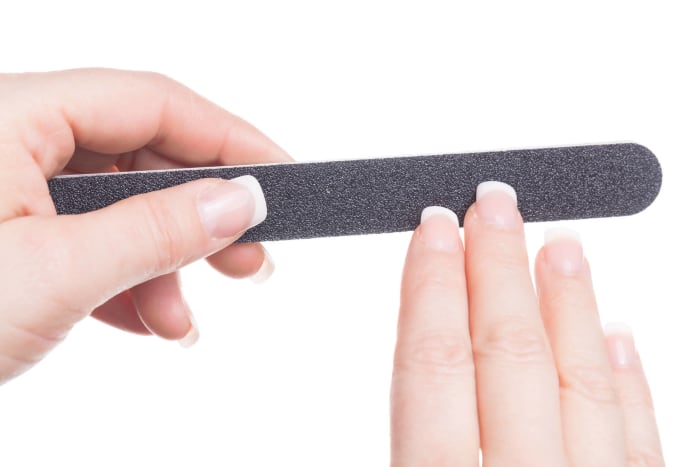
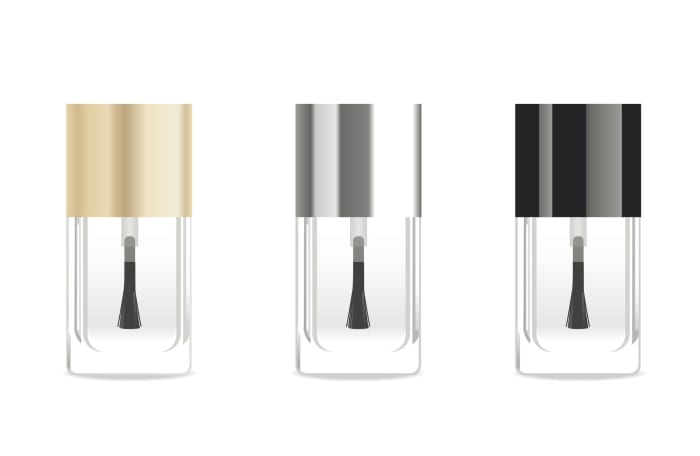
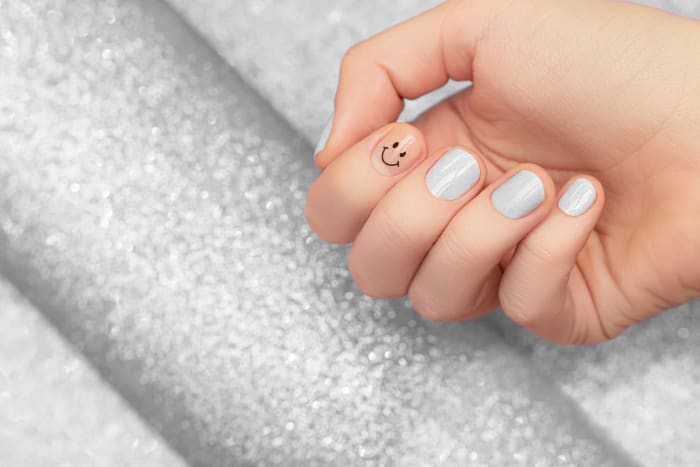
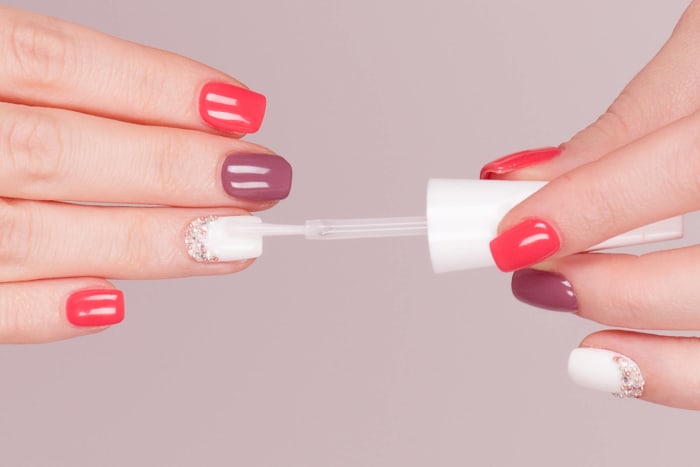
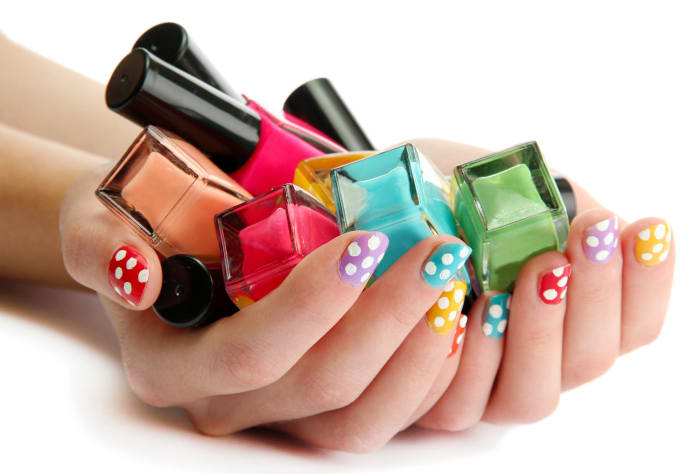
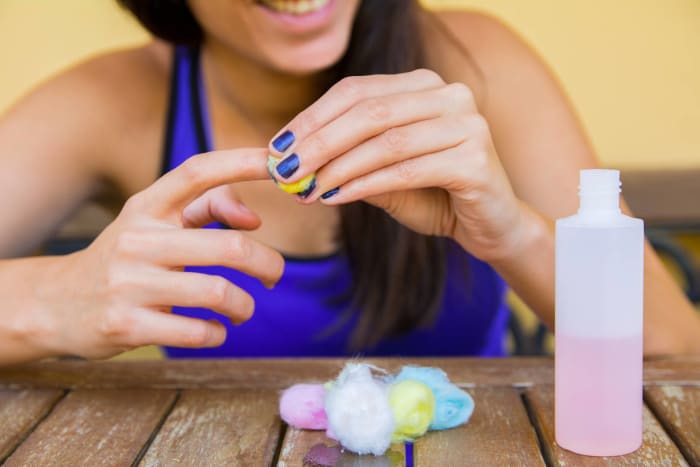
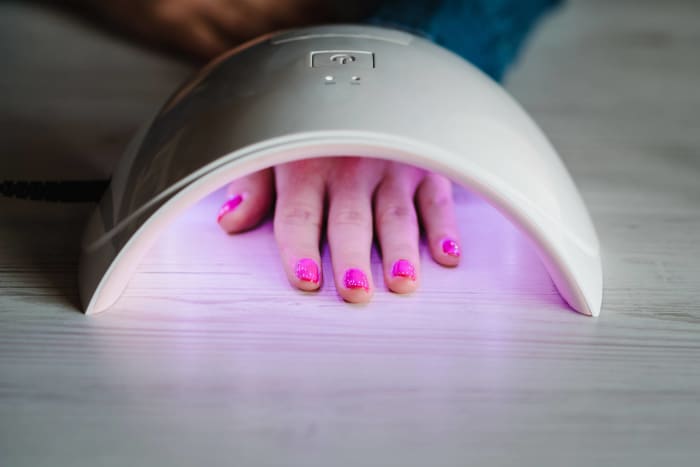
Nailed it: 20 essential tips for DIY manicures
Everyone loves having perfectly polished — and healthy — nails, but frequent trips to the salon are time-consuming and expensive. Looking to get started with a DIY nail care routine? Flip through the gallery below for 20 essential tips on how to have your best-looking nails ever.


More must-reads:
- Four questions about Hurricanes' stunning trade of superstar Mikko Rantanen
- Bruins icon reportedly set to be traded to Panthers
- The 'Active NFL players with the most sacks in a season' quiz
Trending News
Customize Your Newsletter
 +
+
Get the latest news and rumors, customized to your favorite sports and teams. Emailed daily. Always free!

MY ACCOUNT SUBSCRIBE ADVERTISE JOBS FAQ
PRIVACY POLICY EDITORIAL POLICY CONTACT US
ABOUT YARDBARKER TERMS OF SERVICE


PRIVACY POLICY EDITORIAL POLICY CONTACT US
ABOUT YARDBARKER TERMS OF SERVICE
Copyright 2025 YB Media, LLC.
All rights reserved.
Use of this website (including any and all parts and
components) constitutes your acceptance of these
Terms of Service and Privacy Policy.
This site is for entertainment purposes only.
There is no gambling offered on this site.
Gambling Problem? Call 1-800-Gambler.

Use of this website (including any and all parts and
components) constitutes your acceptance of these
Terms of Service and Privacy Policy.
This site is for entertainment purposes only.
There is no gambling offered on this site.
Gambling Problem? Call 1-800-Gambler.